Woodworker's Journal 2004 Summer, страница 45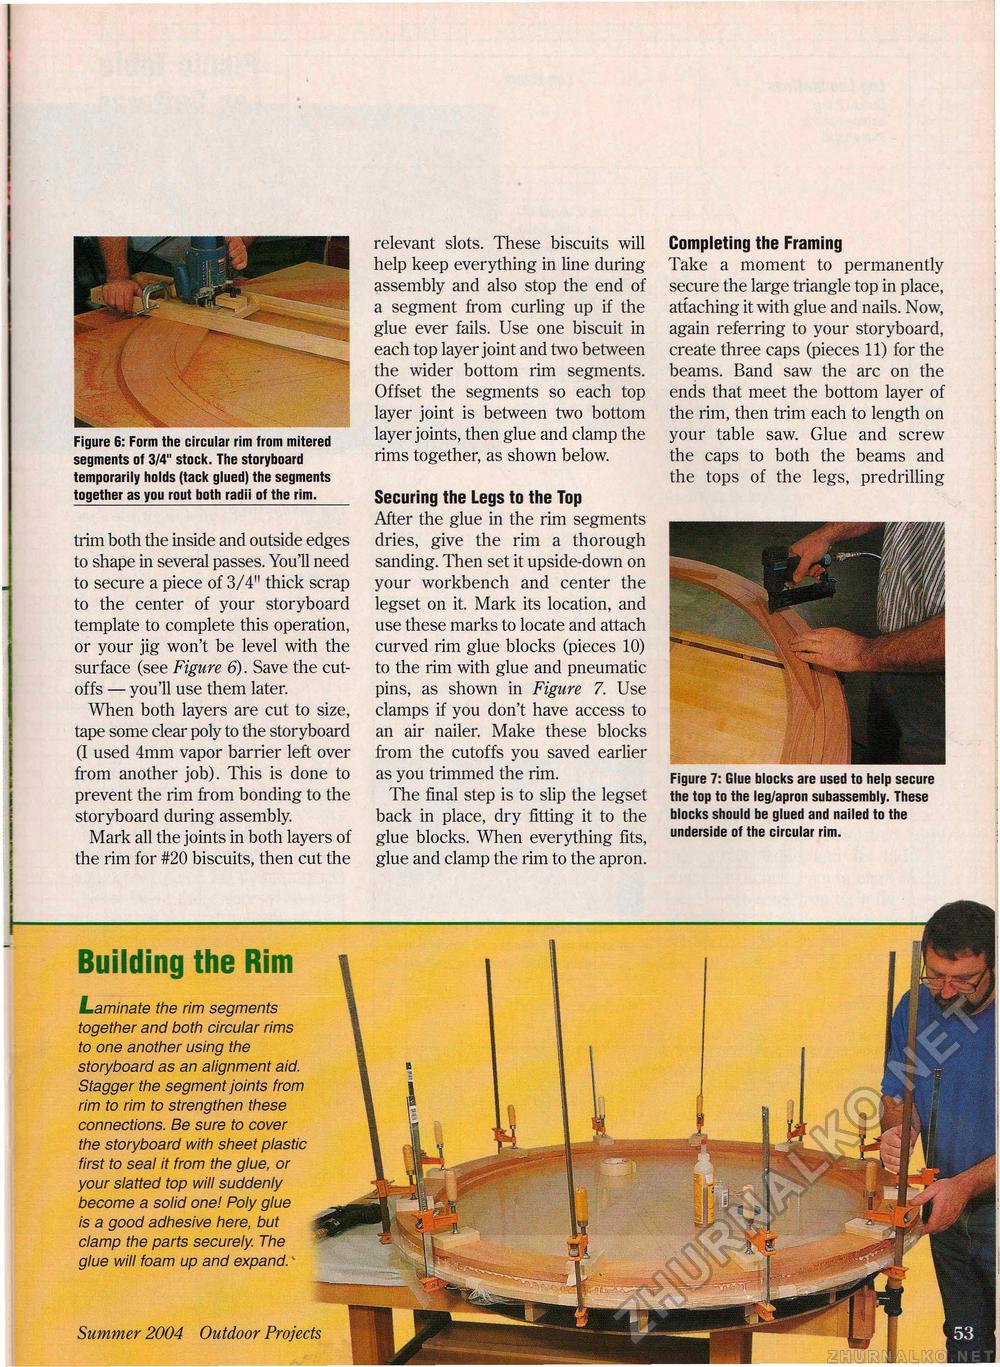
Figure 6: Form the circular rim from mitered segments of 3/4" stock. The storyboard temporarily holds (tack glued) the segments together as you rout both radii of the rim. trim both the inside and outside edges to shape in several passes. You'll need to secure a piece of 3/4" thick scrap to the center of your storyboard template to complete this operation, or your jig won't be level with the surface (see Figure 6). Save the cutoffs — you'll use them later. When both layers are cut to size, tape some clear poly to the storyboard (I used 4mm vapor barrier left over from another job). This is done to prevent the rim from bonding to the storyboard during assembly. Mark all the joints in both layers of the rim for #20 biscuits, then cut the relevant slots. These biscuits will help keep everything in line during assembly and also stop the end of a segment from curling up if the glue ever fails. Use one biscuit in each top layer joint and two between the wider bottom rim segments. Offset the segments so each top layer joint is between two bottom layer joints, then glue and clamp the rims together, as shown below. Securing the Legs to the Top After the glue in the rim segments dries, give the rim a thorough sanding. Then set it upside-down on your workbench and center the legset on it. Mark its location, and use these marks to locate and attach curved rim glue blocks (pieces 10) to the rim with glue and pneumatic pins, as shown in Figure 7. Use clamps if you don't have access to an air nailer. Make these blocks from the cutoffs you saved earlier as you trimmed the rim. The final step is to slip the legset back in place, dry fitting it to the glue blocks. When everything fits, glue and clamp the rim to the apron. Completing the Framing Take a moment to permanently secure the large triangle top in place, attaching it with glue and nails. Now, again referring to your storyboard, create three caps (pieces 11) for the beams. Band saw the arc on the ends that meet the bottom layer of the rim, then trim each to length on your table saw. Glue and screw the caps to both the beams and the tops of the legs, predrilling Figure 7: Glue blocks are used to help secure the top to the leg/apron subassembly. These blocks should be glued and nailed to the underside of the circular rim. Building the Rim Laminate the rim segments together and both circular rims to one another using the storyboard as an alignment aid. Stagger the segment joints from rim to rim to strengthen these connections. Be sure to cover the storyboard with sheet plastic first to seal it from the glue, or your slatted top will suddenly become a solid one! Poly glue is a good adhesive here, but clamp the parts securely. The glue will foam up and expand.' Summer 2004 Outdoor Projects 45 |


